
For us Washingtonians, there's no denying it...it is officially fall. Wet roads, boots, scarves, Pumpkin Spice Lattes..fall is in full force. So naturally we had to incorporate the most popular and traditional craft project of the season....Pumpkins!!!
But no need to bring out the carving knives or cover your floors with yesterday's newspaper, instead grab your glue guns, glitter, paper and mod podge and get ready to create the most chique pumpkins ever.
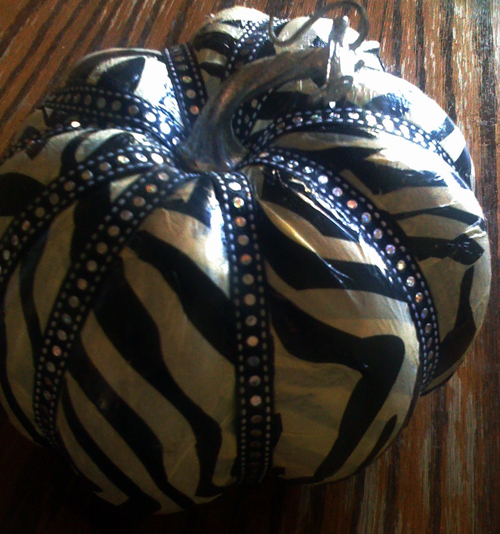
Here are some examples from Pinterest to give you a little inspiration!

PUMPKINS
Our lovely Kaitlyn Campbell will be the instructor for the project this week. She is super creative when it comes to decorating for parties, or weddings and pretty much any event! So this week, she’s going to show us some cute new ways to decorate pumpkins. Don’t worry we won’t be sawing gutting them….just dress’n them up and making them into fabulous center pieces that can be on display for the whole fall season!
This is a great tutorial if you are wanted to get a sneak peak at how to do this project: Mod Podge Pumpkin Tutorial


This project will be fun, and hopefully by now you are building up your supply resources so there is less you have to go out and purchase. As always, we’ll be sure to have some extra glue guns and some other basic supplies in case you don’t have them.
1. Pumpkin: Any pumpkin will do…you can even use a fake one if you want to use it again next year. Choose whatever size or shape you like!
2. Tissue Paper: You will be using this to cover your pumpkin so be creative in the colors you choose. You can pick up Tissue Paper pretty much anywhere and it’s really inexpensive which is always a plus!
3. Scrapbook Paper: We’ll also be using this to cover the pumpkins so mix and match it with your tissue paper!
4. Modpodge: After the canvas week you are all pros at using Modpodge and hopefully you have some left over! Since we’ll be using this as the “glue” for adhering the paper to your pumpkins you’ll want to bring enough. (Hint: For this type of project Elmers Glue with a little bit of added water will work as a substitute for Modpodge.)
5. Embellishments – This is where you can let your creativity run wild. You can add whatever you want to your beautiful pumpkin creation! Here are some suggestions: fine glitter, rhinestones, puff paint (for adding delicate designs), paint, feathers, leaves, ribbons….etc, you get the picture!
Additional Tools and Supplies Needed!
- Scissors
- Paper Towels
- Foam Brush
- Empty Garbage bag (we’re using these to put under your pumpkin to keep things clean)
- Rag (for wiping up drips)
- Pencil or a Sharpie Pen
- And of course a GLUE GUN!
I can’t wait to see teach this project and see what you all come up with. And remember to send us pictures of you finished products each week so we can post you beautiful creations!
God bless all you beautiful ladies!
Jo
No comments:
Post a Comment